When an employee creates an overtime request. It goes to that employee who is defined as the 1st node in overtime request flow. If other employees are also defined as nodes in overtime flow, after approval it will redirect to those employees according to priority defined in the next column.
To know more about how to approve the request. Follow the following steps.
- In the navbar click the Attendance tab.
- The above step will open new tabs in the dropdown. Click the overtimes tab.
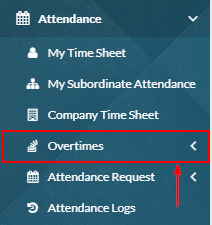
- The above step will open new tabs in the dropdown. Click the approvals tab.

- The above step will open the overtime approvals index page.
- Requests will appear according to designations in each tab. Click on the tab according to your designations.

- Click approve/reject button to approve or reject the request.

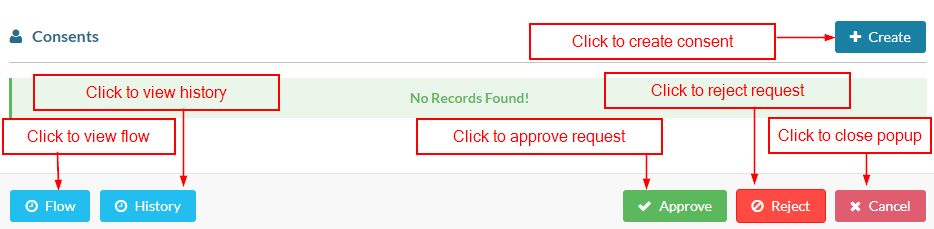
- A pop-up will appear to approve overtime request.
- Employees can add overtime duration.
- Employees can add remarks.

- Employees can create consent(Confirm from any employee) before approving the request.
- Consent creation is already explained in How to create consented request?.
- Employees can check history and flow.
- Employees can cancel the approval pop-up.
- Finally, click approve button to approve the request.
- Finally, click the reject button to reject the request.
- After acceptance status will change from pending to completed and after rejection status will change to reject.
