An employer can create an end of employment for any employee. End of employment is basically an end of employment period in a company.
To know more about how to create an end of employment. Follow the following steps.
- In the navbar click eoe services tab.
- The above step will open new tabs in the dropdown. Click the end of the employments tab.
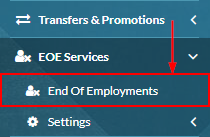
- The above step will open the end of the employments listing page.
- Click create button to create an end of employment.

- The above step will open a popup to create an end of employment.
- Field with red sterics is necessary to fill.
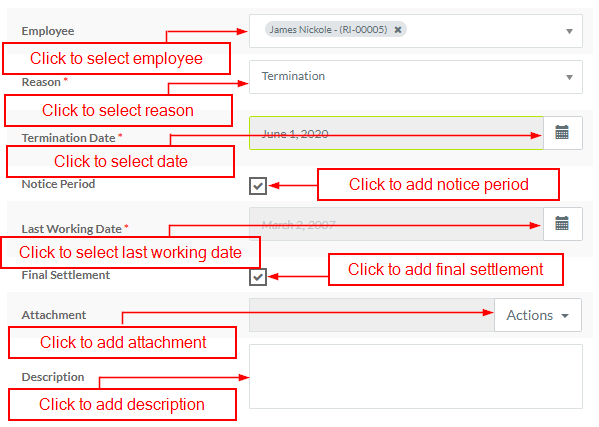
- A select employee from the drop-down for which you want to create an end of employment. The employee is already explained in How to manage employee?.
- Select reason form drops down why you want to create an end of employment. The reason is already explained in How to manage reasons for the end of employment?.
- After reason selection. The system will show a new field to add eoe start date. Click calendar to select eoe start date.
- Click the notice period checkbox. if you want to add a notice period.
- Click on the notice period will add a new field to add the last working date.
- Click calendar to select the last working date.
- Click the final settlement checkbox. if you want to create a final settlement. The final settlement is already explained in What is the final settlement?.
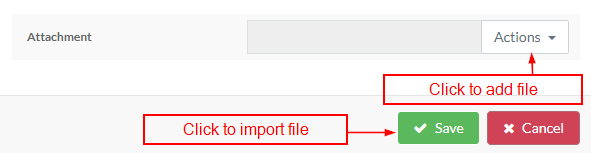
- Click the actions button if you want to add any attachment.
- Enter end of employment description.
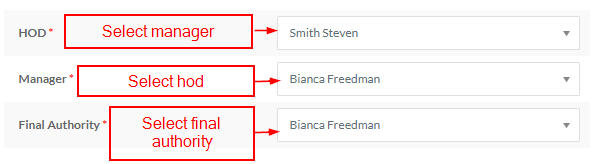
- If an employee is a hod, line manager and final authority then the system will show tabs to select replacement of that employee. After selection selected persons will receive notifications to approve the request.
- Select hod if the employee is hod.
- Select manager if the employee is the manager.
- Select final authority if the employee is the final authority.
- Click the checklist tab to revise the necessary step before creating the end of employment if you want. The checklist is already explained in How to manage checklist for end of employment?.
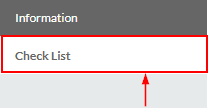
- The above step will open existing checklists.
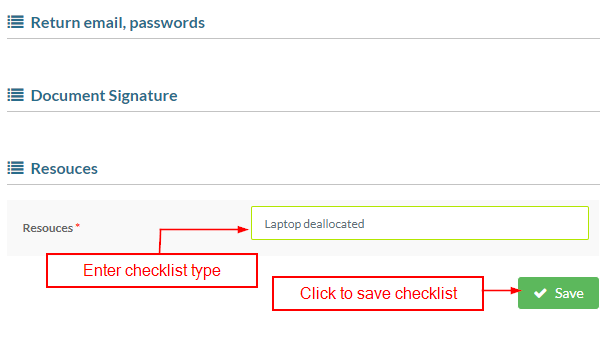
- Enter a value if the checklist type is a number or string.
- Click the save button to create additional information.
- Click the save button to create an end of employment.

- End of employment will be created and look like.

- If the final settlement is true system will show status as pending. When the final settlement is completed status will also change
- Click the View button to view the end of employment.

- Click on the View button will open a popup to view EOE. Employees can't change anything.
- Click the Cancel button to close the popup.
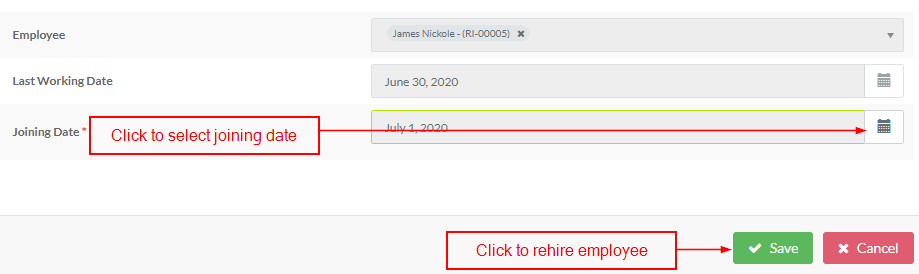
- An employer can rehire an employee once eoe is completed. Click rehire button to rehire an employee.

- Click on rehire button will open a popup to delete rehire the employee.
- Click calendar to select joining date.
- Click the save button to rehire the employee.
- Employers can also create an end of employment through the import method.
- Click the download sample button present at the top to download a sheet.

- The above step will download the excel file in the Downloads folder.
- Enter employee code, reason and initiation date, last working date and description.
- After adding data click the import button to import the excel file.

- The above step will open a popup to import an excel file.
- Click the action button to add the file.
- Click the save button to create an end of employment through import.